AI Dashcam
This is a printed page that might be out of date. To read the most up-to-date help content, visit https://device-help.verizonconnect.com.
This article explains how to install an AI Dashcam using the Reveal Hardware Installer app.
If you already have a Road-facing camera and wish to upgrade to a dual-facing camera, you should instead use: Technician guide: Dual-Facing AI Dashcam using Reveal Hardware Installer app.
A VTU must be installed in the vehicle before you can add an AI Dashcam.
-
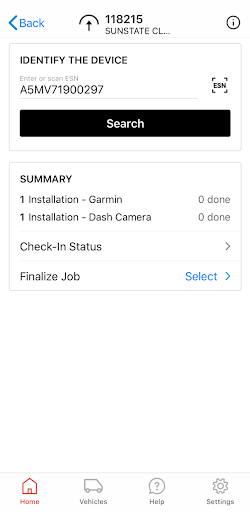
Navigate to the Work Ticket for the Install.
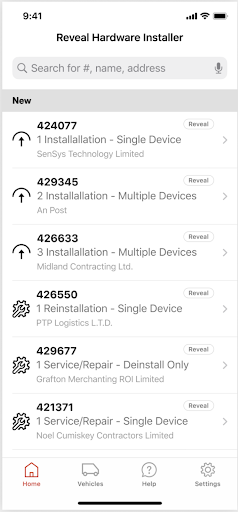
-
Input the Camera ESN by using the ESN Scan button. Alternatively, you can input the camera ESN manually by typing it in.
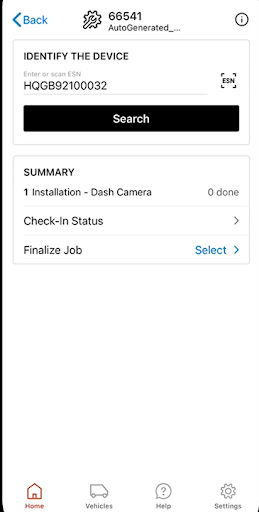
-
Select the task Installation - Road Facing or Dual Camera.
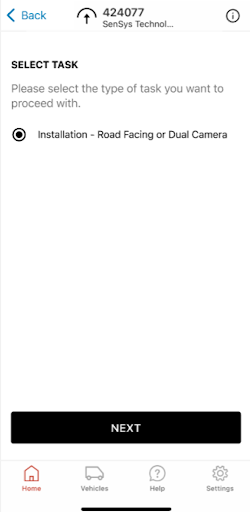
- Tap Next.
-
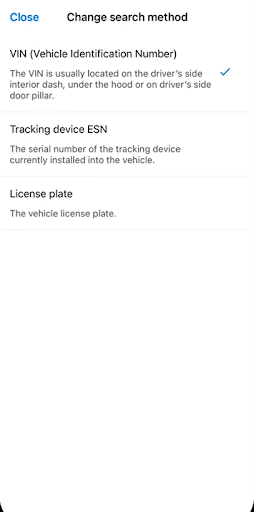
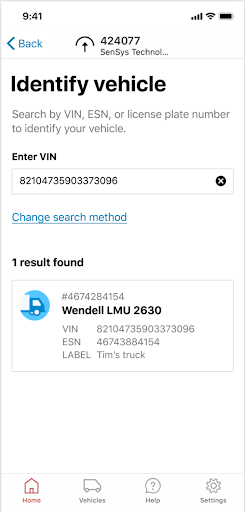
Identify the VTU to pair the camera with by scanning/entering the VIN, or by entering the license plate or ESN (for VTU), IMEI (for VDD).
-
Toggle between search options by selecting Change search method.
-
Tap on the result once it has been found.
-
You’ll be brought to the Before you begin page. First time users should review the instructions in their entirety.
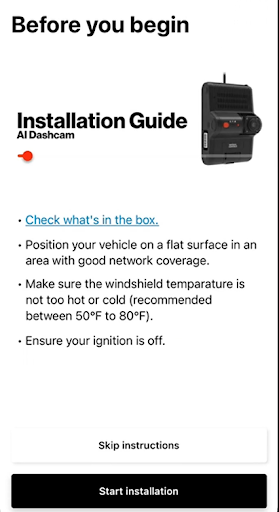
- When ready to proceed with the installation, select Start installation.
-
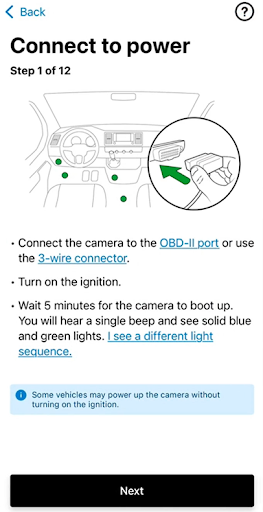
Connect to power, turn on ignition and wait 5 minutes for boot up.
-
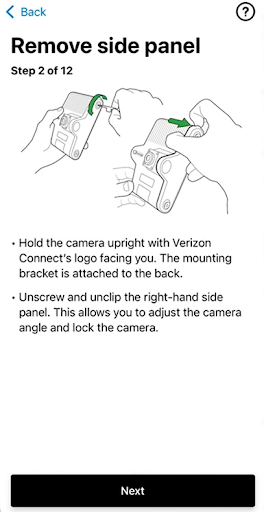
Remove the camera side panel.
-
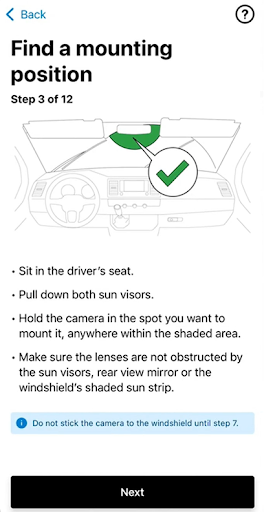
Choose the best placement for the camera before sticking it on the windshield, but do not attach it
yet.
-
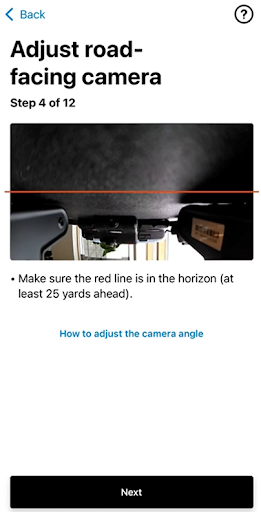
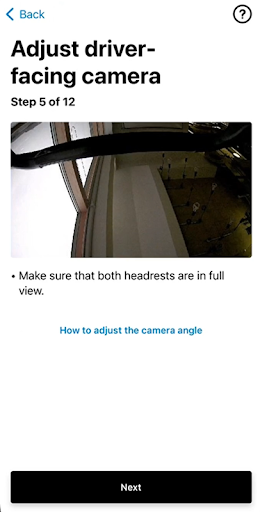
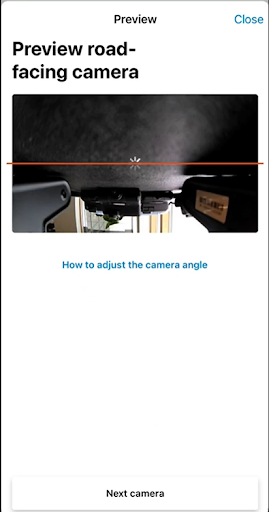
Adjust the road facing camera angle so it is evenly centred on the horizon.
-
If the unit has a driver-facing camera, complete the same steps of aligning the camera so both headrests are in full view.
-
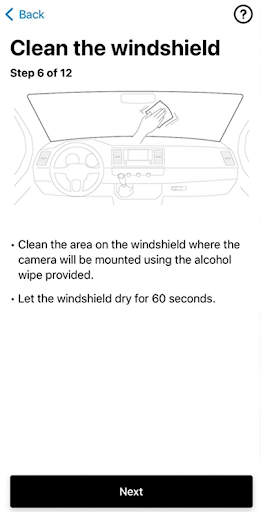
Clean the windshield using the alcohol wipes provided. Ensure that it is thoroughly dried.
-
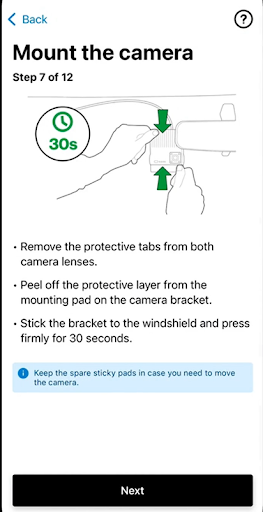
Mount the camera and bracket, and hold firmly for 30 seconds.
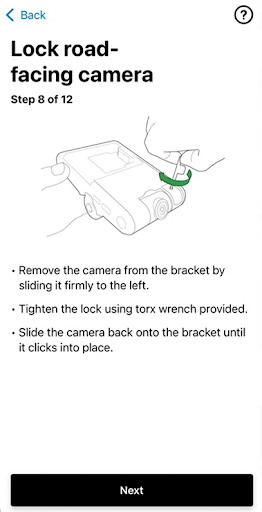
- Remove the road-facing camera from the bracket.
-
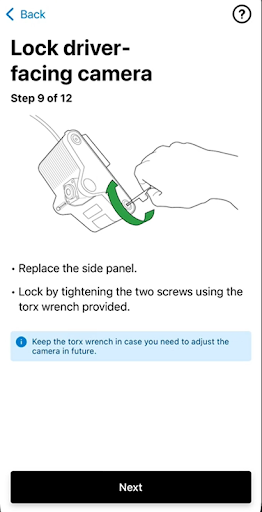
Lock the road-facing camera in position.
-
If the unit has a driver-facing camera, lock it into position.
-
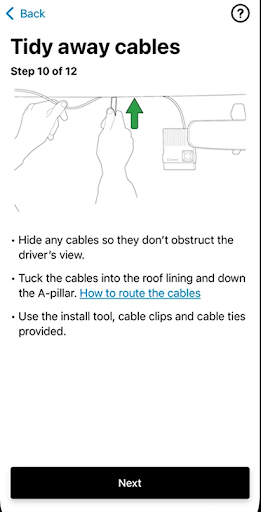
Tuck the cables into the roof lining and down the A-pillar using the tools and supplies provided.
-
Place the privacy covers in the drawstring bag provided.
Make sure that it's easily accessible/visible to driver - like a cup holder or driver side door panel.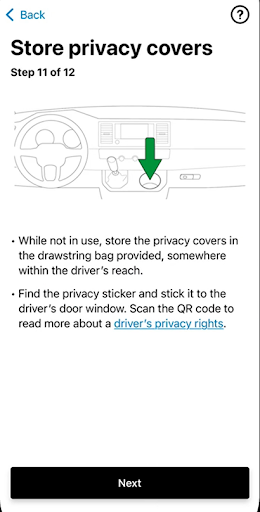
-
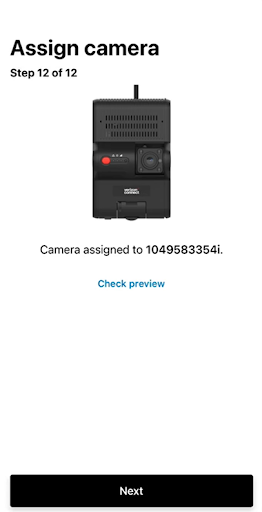
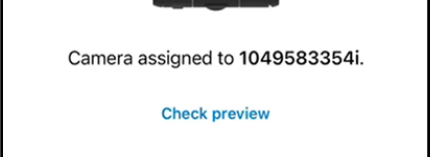
A temporary loading screen will show while the camera pairing takes place, then a confirmation once completed.
-
To view alignment, select Check preview.
-
Select Check preview to view the camera alignment.
-
If a driver-facing camera is installed, select Next camera to view its alignment.
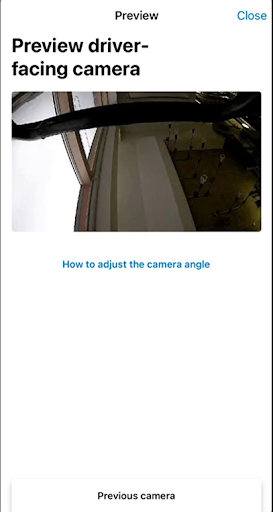
- Select Close on the top right when completed.
-
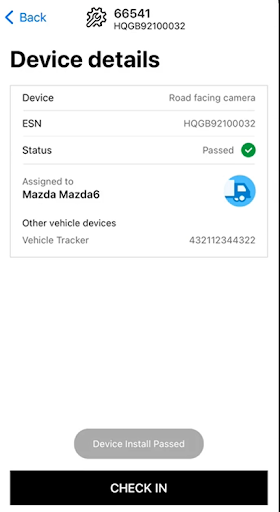
Review installation details, and select
CHECK IN to complete.